Create office
Note: This option is available only to Super Users.
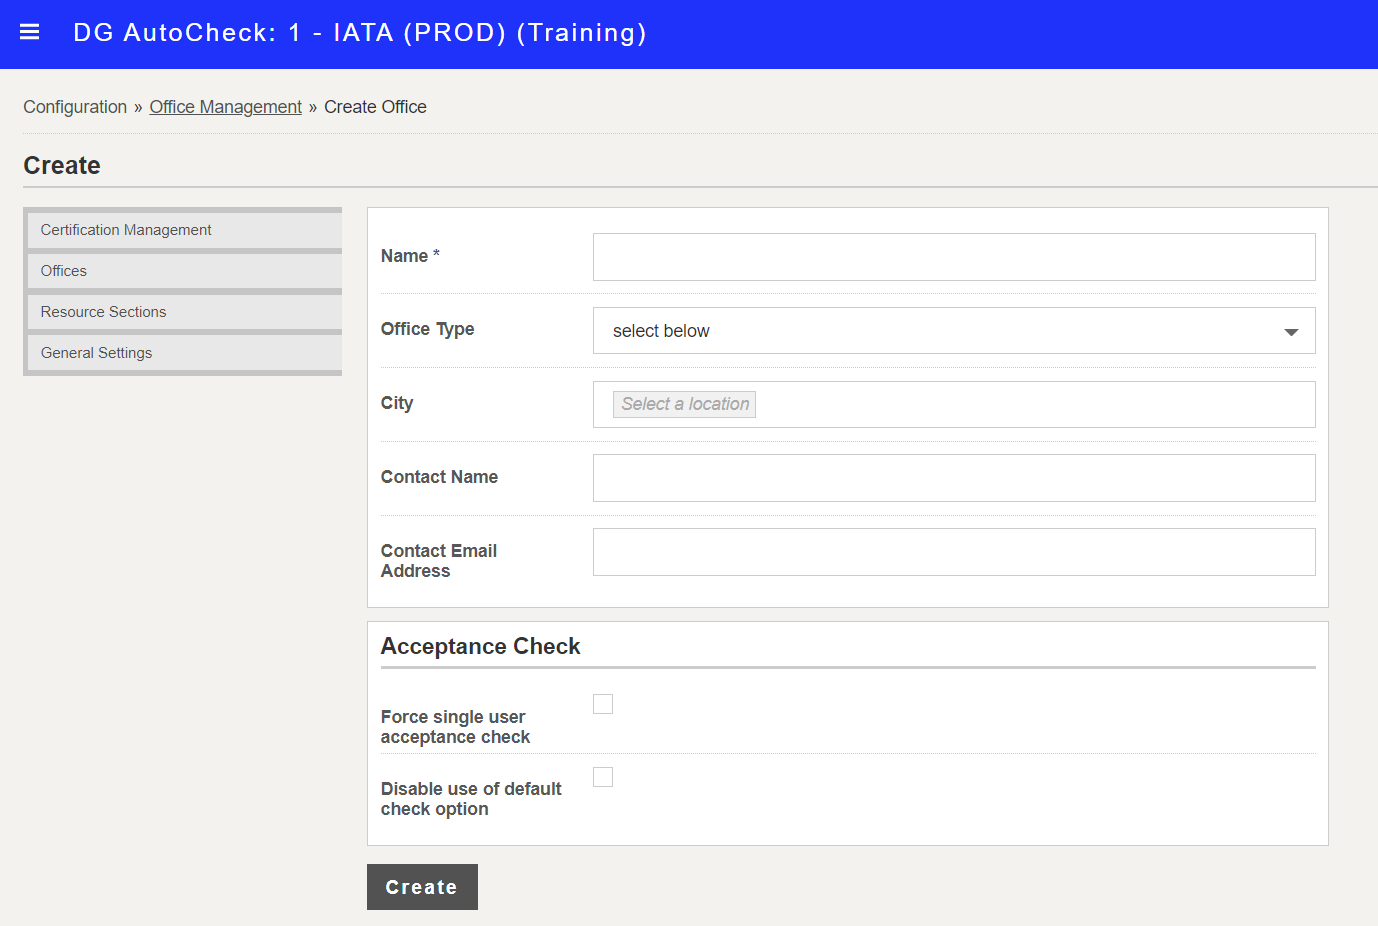
To create a new office, access the Offices screen and click Create.

The Create Office screen is displayed.

You can enter the office details as follows.
Name
This is the office name to be displayed on top right corner of the screen. (Mandatory)
Office Type
This is to indicate the office type as Hub or a regular office.(Non-mandatory)
City
This is the city where the office is located. (Non-mandatory)
Contact Name
This is the name of contact person to send reports or alerts for this office. (Non-mandatory)
Email Address
This is email address of the contact person to send reports or alerts for this office.(Non-mandatory)
Force single user acceptance check
Selecting this option will ensure that for this office both Documentation and Packaging checks are always performed by a single user.
If this option is not selected, then two different users can do the Documentation check and the Packaging check. Both sign-off names will appear on the acceptance report.
Note: This option is visible only if Allow multiple checkers for acceptance checks option is selected in General Settings.
Disable use of default check option
You can use this disable the default check option shown at the start of the Documentation check (Settings screen).
When disabled, users will need to answer manually all questions which are not autochecked.
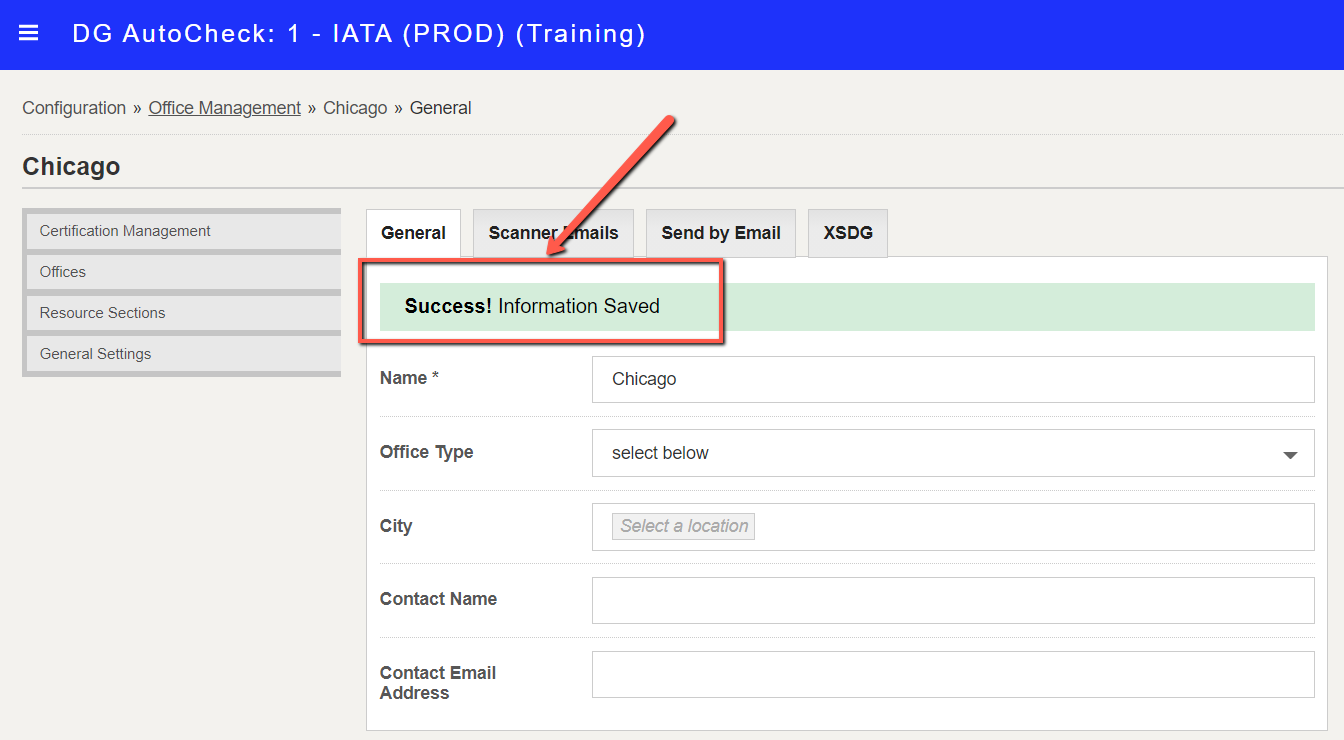
After entering all the details, click Save to create the office.

Related topics: